
Install TensorFlow 2.0 on Anaconda Python on Windows and Linux
In this tutorial we are going to install TensorFlow 2.0 on Ubuntu and Windows operating system. We have Anaconda Python is already installed on these system. If Anaconda Python is not installed you should first install it on your system and then proceed. You can find more information at Installing Anaconda Python on Ubuntu and Installing TensorFlow on windows with Anaconda. After installing Anaconda Python you can come back to this tutorial and start installing TensorFlow 2.0 on your Anaconda Python environment. Anaconda Python provides virtual environment for running different versions of Python library to meet your specific application development requirement. In this tutorial we will create virtual environment in Anaconda Python for TensorFlow 2.0 and then install the latest version of TensorFlow.
Step 1: Create virtual environment in Anaconda Python
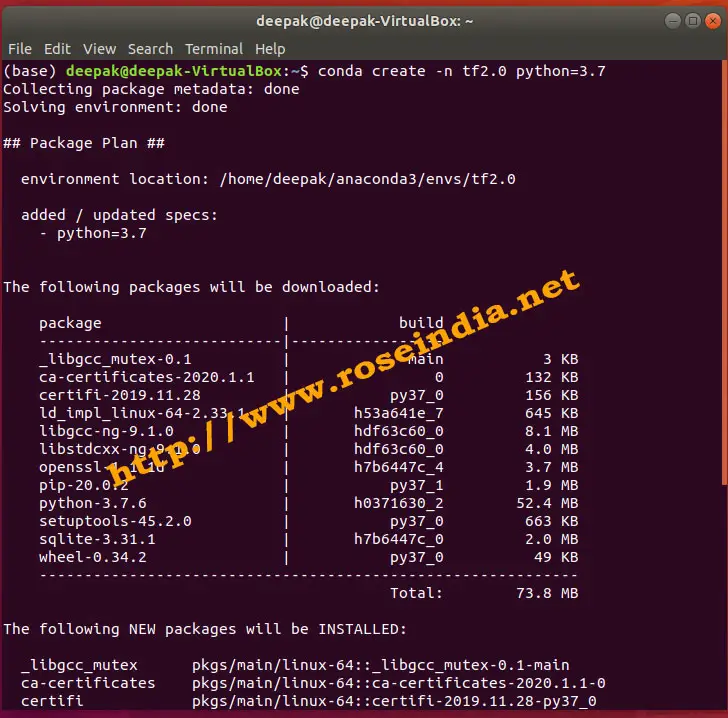
First of all we have to create a virtual environment in Anaconda Python installation. In this virtual environment we will install TensorFlow 2.0. Open the terminal and then run following command:
conda create -n tf2.0 python=3.7
Above command of Anaconda creates a new Python 3.7 environment and install all required libraries. Here is the screen shot of this step in Ubuntu 18.04:
Now accept at the installer prompt to continue the installation of python 3.7 as shown below:
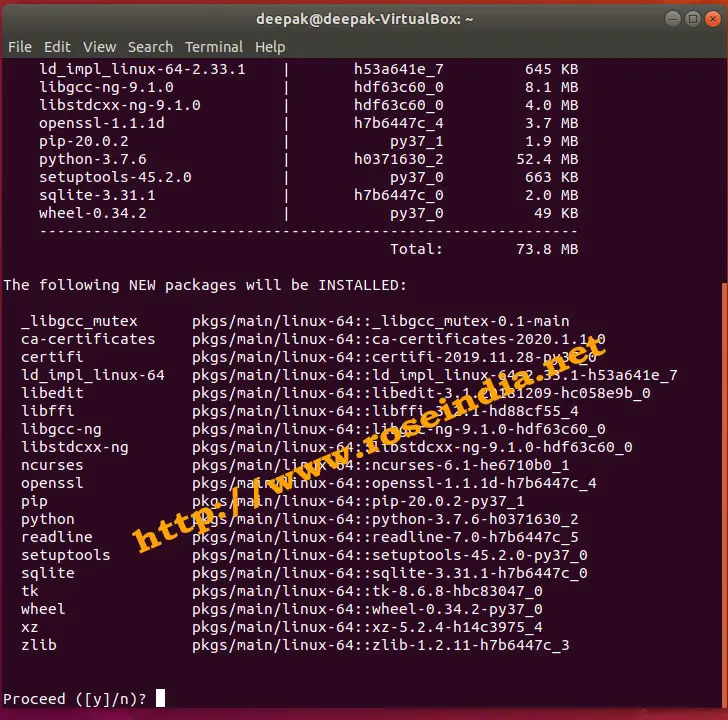
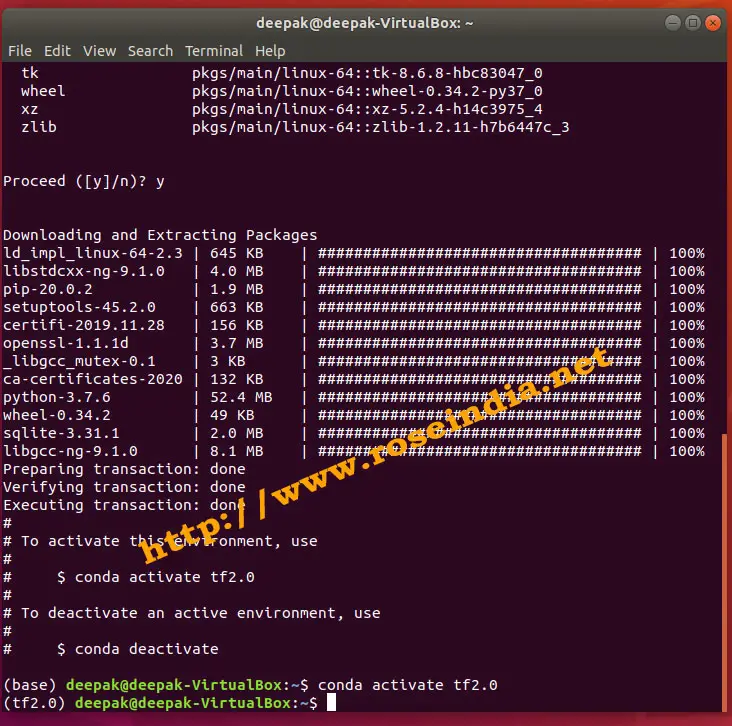
Above step complete the creation of virtual environment for TensorFlow with Python 3.7. Here is the final output of the installation process:
Downloading and Extracting Packages
ld_impl_linux-64-2.3 | 645 KB    | #################################### | 100%
libstdcxx-ng-9.1.0   | 4.0 MB    | #################################### | 100%
pip-20.0.2           | 1.9 MB    | #################################### | 100%
setuptools-45.2.0    | 663 KB    | #################################### | 100%
certifi-2019.11.28   | 156 KB    | #################################### | 100%
openssl-1.1.1d       | 3.7 MB    | #################################### | 100%
_libgcc_mutex-0.1    | 3 KB      | #################################### | 100%
ca-certificates-2020 | 132 KB    | #################################### | 100%
python-3.7.6         | 52.4 MB   | #################################### | 100%
wheel-0.34.2         | 49 KB     | #################################### | 100%
sqlite-3.31.1        | 2.0 MB    | #################################### | 100%
libgcc-ng-9.1.0      | 8.1 MB    | #################################### | 100%
Preparing transaction: done
Verifying transaction: done
Executing transaction: done
#
# To activate this environment, use
#
#     $ conda activate tf2.0
#
# To deactivate an active environment, use
#
#     $ conda deactivate

(base) deepak@deepak-VirtualBox:~$
Now we will continue with the installation of TensorFlow 2.0 below.
In the next step we will first activate newly created Python Virtual environment and only then proceed with next step.
Step 2: Activate tf2.0 environment
Anaconda Python provides very easy way to install many virtual environments with different Python versions and libraries. It enables the user to switch between these environments easily. Now we will activate the newly created tf2.0 environment with following command:
conda activate tf2.0
After activating this environment we can proceed with the the Installation of TensorFlow 2.0. Here is the screenshot of activation of the newly created Python 3.7 virtual environment in Anaconda Python distribution.
Step 3: Installing TensorFlow 2.0
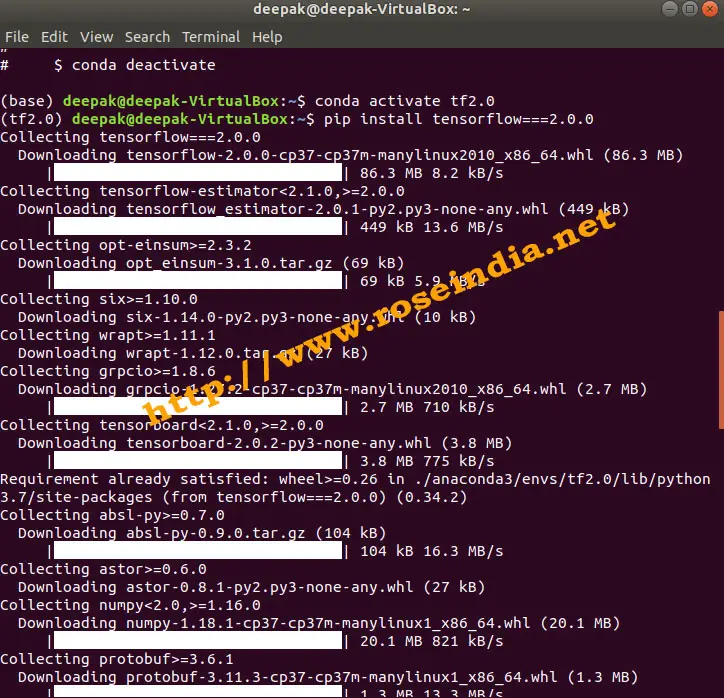
Once you have activated your Python 3.7 environment you can start the installation of TensorFlow 2.0. For installing TensorFlow 2.0.0 run the following command on command prompt:
pip install tensorflow===2.0.0
Here is the screenshot of the installation process:
After the completion of installation your TensorFlow 2.0.0 environment will be ready and you can proceed with your coding. You can also test the installation with quick sample given below.
Step 4: Testing TensorFlow 2.0.0 installation
This is the final step of testing of the TensorFlow 2.0.0 installation. You open the python prompt by typing python and then run the following code:
import tensorflow as tf
msg = tf.constant('TensorFlow 2.0.0 Hello World')
tf.print(msg)
Here is the screen shot of the program output:
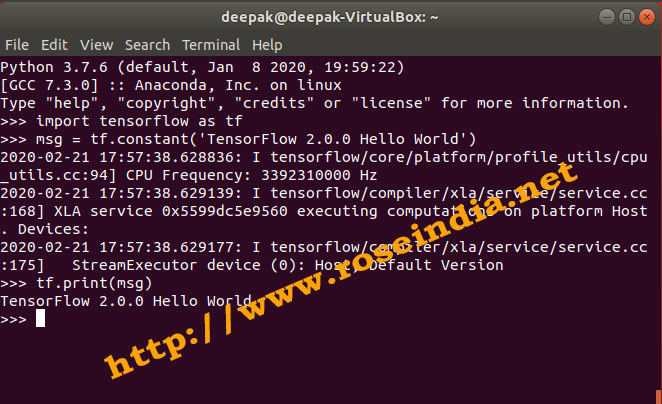
Above TensorFlow code should run and print TensorFlow 2.0.0 Hello World on the console. If it does not run then your TensorFlow environment is not installed correctly and you should verify all the steps to fix installation.
In this tutorial we have learned to install TensorFlow 2.0.0 on Ubuntu 18.04 operating system. You can follow the same steps on Windows or any other operating system if you are installing TensorFlow in Anaconda Python.
Check more tutorials at: