
How to Install Anaconda Python on Ubuntu and test with simple program?
In this tutorial we are going to install Anaconda Python on Ubuntu 16.04/18.04 operating system and then test the installation. This is step by step process which you can follow to install Anaconda Python distribution for development.
Anaconda Python is popular Python distribution for machine learning and data science. This distribution is most updated distribution of Python and includes thousands of machine learning libraries. In this section we are going to install latest version of Anaconda Python on Ubuntu 16.04, but the steps describe here is applicable for other versions of Ubuntu. You can follow the steps given here to install Anaconda Python on the server operating system also.
So, let's get started with the installation and testing of Anaconda Python on Ubuntu 16.04, 64bit operating system.
Step 1: Download Anaconda Installer
Anaconda is a Python distribution as a single installer file which can be downloaded and installed quickly. You can download it from its official website at https://www.anaconda.com/download/#linux. Here is the screenshot of the website:
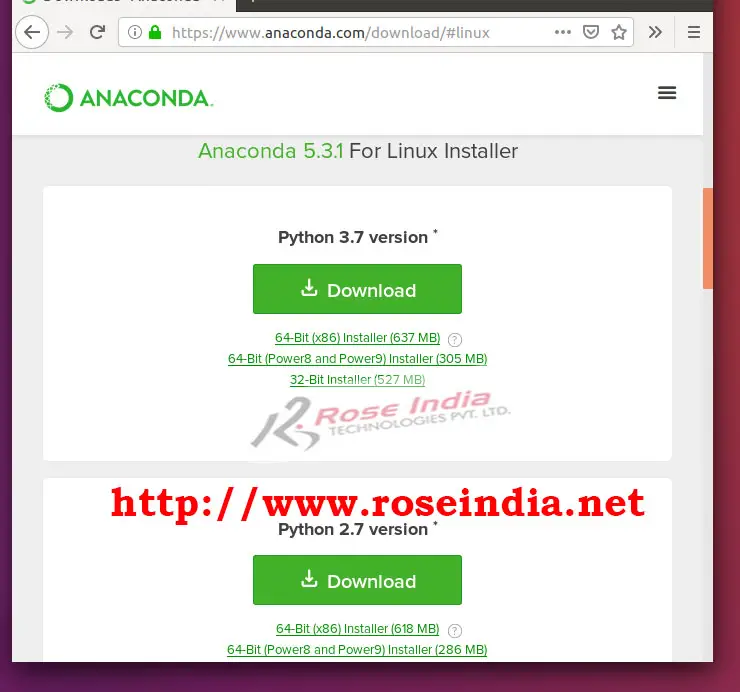
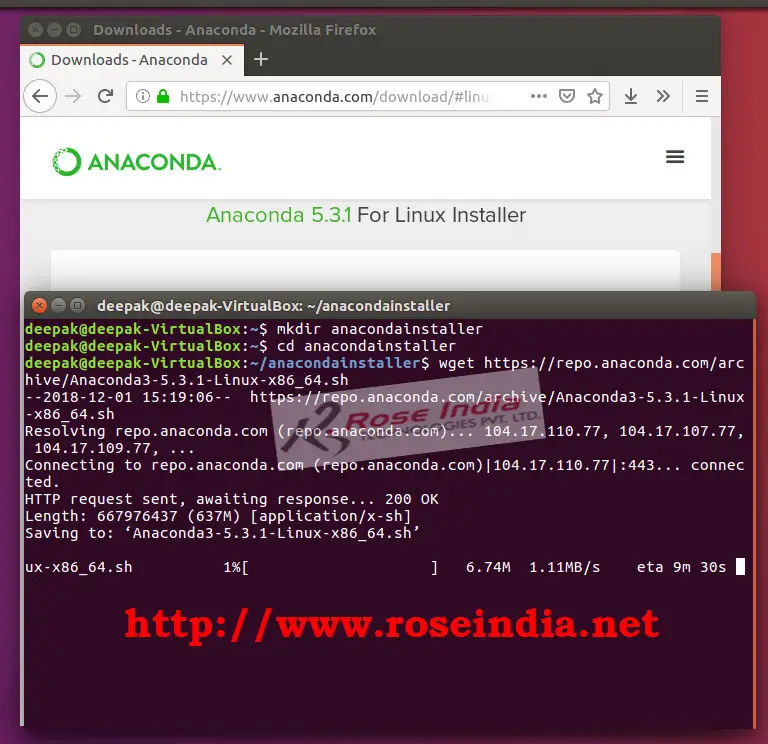
Click on the "64-Bit (x86) Installer (637 MB)" link to download the installer. Or you can also open terminal create a directory and then use the wget command to download the installer:
mkdir anacondainstaller
cd anacondainstaller
wget https://repo.anaconda.com/archive/Anaconda3-5.3.1-Linux-x86_64.sh
This will download Anaconda3-5.3.1-Linux-x86_64.sh on your system.
Video Tutorial: How to install Anaconda Python on Ubuntu 18.04?
Step 2: Running installer for installing Anaconda Python on Ubuntu 16.04
Now you can run the installer with the following command:
chmod +x Anaconda3-5.3.1-Linux-x86_64.sh
./Anaconda3-5.3.1-Linux-x86_64.sh
Now you can press the ENTER button to continue the installation.
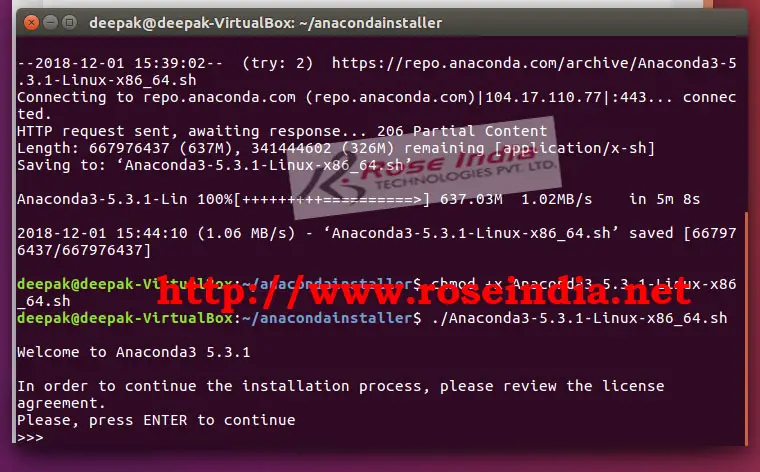
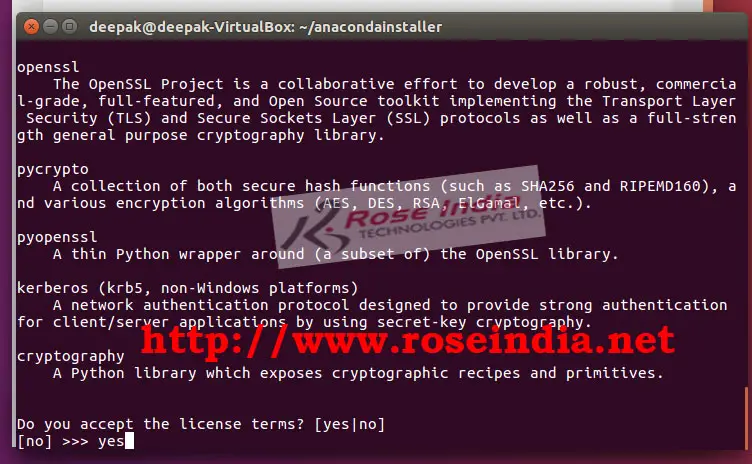
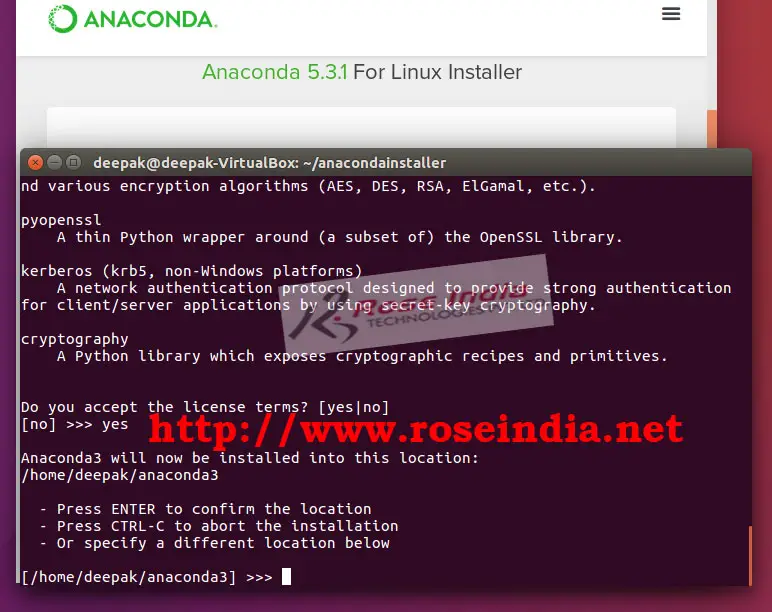
Installer will ask you to accept the licence, enter yes and then press the enter button to continue the installation.
By default Anaconda will be installed in the home directory of the current user. If you wish to change the path you can enter new path or continue with the default installation path. For this tutorial we will continue with the default path.
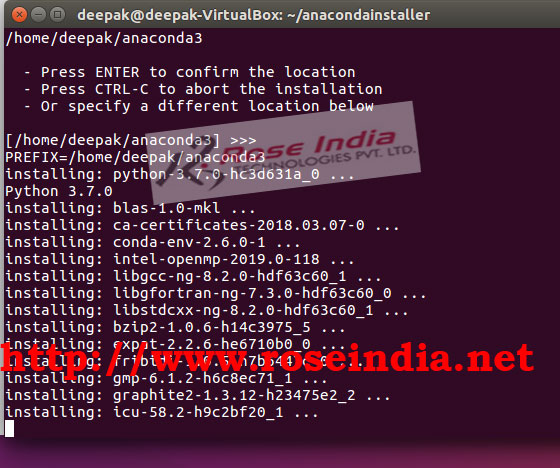
Now installer will start the installation process as shown below:
Finally installer will ask the you to add the patch of Anaconda python in the .bashrc file.
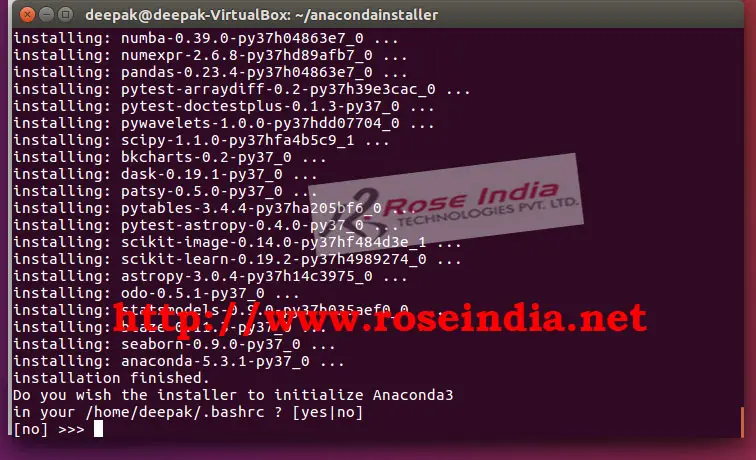
With this installation completes and you can close terminal now.
Step 3: Testing Anaconda Python installation
Close the terminal windows used for the installation of Anaconda Python and open a new terminal. In this terminal type python and you will get python prompt:
deepak@deepak-VirtualBox:~$ python
Python 3.7.0 (default, Jun 28 2018, 13:15:42)
[GCC 7.2.0] :: Anaconda, Inc. on linux
Type "help", "copyright", "credits" or "license" for more information.
>>>
Here is the screenshot of python:

Now you can type following code into python terminal:
a = "Hello World"
print(a)
Here is output:
deepak@deepak-VirtualBox:~$ python
Python 3.7.0 (default, Jun 28 2018, 13:15:42)
[GCC 7.2.0] :: Anaconda, Inc. on linux
Type "help", "copyright", "credits" or "license" for more information.
>>> a = "Hello World"
>>> print(a)
Hello World
>>>
Here is screen shot:
0
To quite python terminal type:
exit()
So, in this tutorial we have installed Anaconda Python and tested the installation by executing simple program on the python terminal.
Check more tutorials at Python Tutorials. 1