Designing Printing Motion of a Paper.
It is very interesting example because it is an animated example. I have tried here to give the real printer work effect. I have taken a printer and a blank paper. A blank paper will come out with some data printed on it.
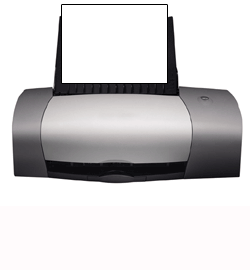
First Open a Printer Image: You have to take a printer image to modify.
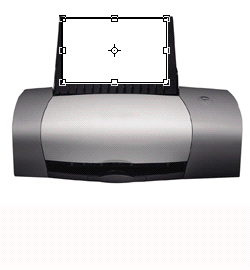
Paper: Select Rectangle Tool (U key) and draw a rectangle shape like a blank paper as I have done here.
Reduce Height: Now select paper layer and press Ctrl + T to reduce the height of the paper as given below.
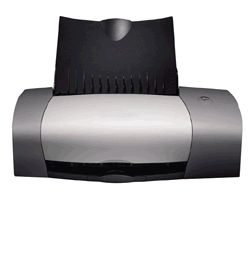
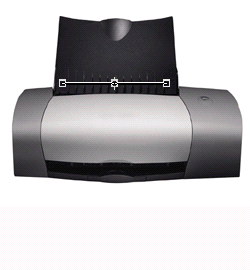
Use these same steps until you have this image.
Text Paper: Take a new file with accurate size of the blank paper then write text ( you can take any color for foreground color and text. )

Piece: Now select Rectangular Marquee Tool (M key) and select some part of your text file as you have created up then past in the final image, you will look similar...
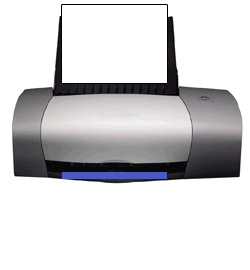
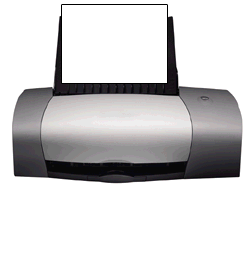
Your final image will look like this.
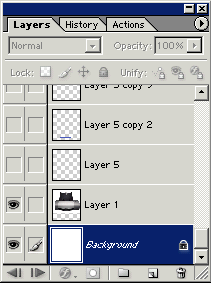
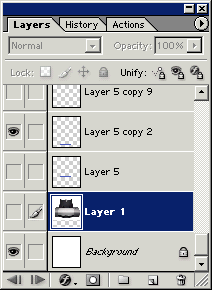
Image Ready: Go to image ready, in the image ready you will find many layer as you have created in the Photoshop. You have to adjust the layers one by one as you like to show in you printing animation.
Layers: Now you have so many layers and you have to adjust all the layers one by one as I have done here.

Animation: In the animation your setting layer will be display as given below.

Save Your File: Go to File Menu > Save Optimized as.