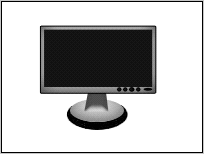
Photoshop a LCD Monitor
How to design a LCD Monitor
With this tutorial, It is not tuff to design a LCD monitor. This tutorial will provide you a completely step by step guide for designing this.
Let's start
New File: Open a new file, the file size you can adjust as you want. I have taken here a file with = 200, height = 150.

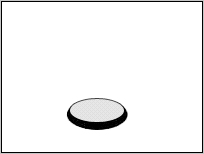
Stand: Select ellipse lasso tool (U key) and drag a circle for stand, the color would be as you want to give to your LCD monitor stand. Select direct selection tool (A key) and adjust as I have done here.

Another Circle: Now Drag another circle with ellipse lasso tool (U key) and put it into stand circle as drown up. You can fill any color as you like.
Straight Shape: Select rectangle tool (U key) and draw upon the stand with black color. Select direct selection tool (A key) and click on the surface of your shape, and make adjustment.

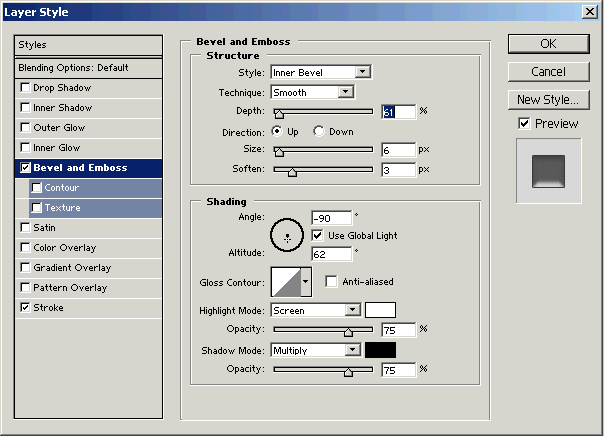
Bevel and Emboss: Add bevel and emboss, go to layer menu > Layer Style > Bevel and Emboss. Adjust the setting as I have done it.

Border of the Monitor: To make border of the monitor, select rectangle tool (U key) and drag a rectangle shape with stroke 1 as I have here.

Screen of the Monitor: Select again rectangle tool (U key) and drag a rectangle shape into previous rectangle shape, just like screen of the monitor. Your image will look like the one below.

Buttons: Select ellipse lasso tool (U key) and drag some little circle. Adjust your little circle left bottom of the screen as I have done here.
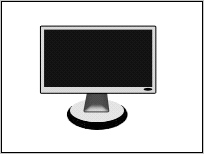
Inner Shadow: Select border of screen and go to Layer menu > Layer Style > Inner Shadow. Make adjustment as I have done here.
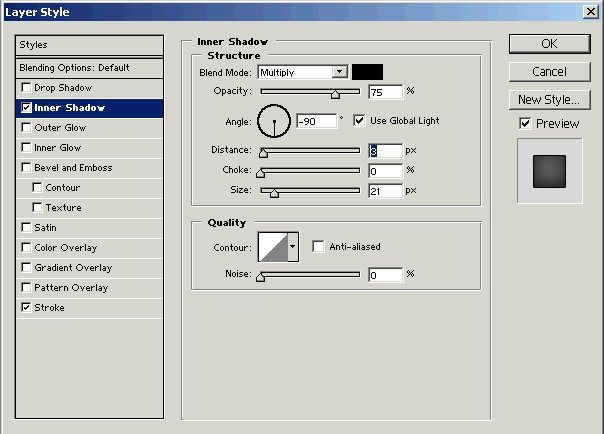
Inner shadow: Use same step like previous one for the circle, which has been putted into stand circle.
Your final image will look like this.
