
Video Tutorial of Spring 4 MVC: This video tutorial teaches you how to write Spring 4 MVC Hello World example and run on Tomcat Server
In this video tutorial I will explains you the steps to write Spring 4 MVC based 'Hello World' application which simply displays the 'Hello World' message on the web browser.
First of you will learn Features of Spring 4 Framework and How Spring MVC Module Works?, and then you can start learning this example. Prior basic information will help you master the example given here easily.
Spring 4 MVC Framework is very flexible framework for making a web application. It provides the necessary infrastructure to develop the MVC based web application quickly.
In this tutorial we have explained you how to make a web application in Maven, import project in Eclipse, Add Spring dependencies and finally add the code and run the example from Eclipse tool.
What you will learn in this Spring 4 MVC tutorial?
- Create Web application using Maven
- Import the project in Eclipse
- Add the Spring dependencies
- Add the JSP and Java files in the project
- Configure the Tomcat if it is not configured in Eclipse
- Run and test the application on Tomcat
Here is the video tutorial of: "How to Build Spring 4 MVC Web Application In Eclipse using Maven?"
Here is the brief of the tutorial:
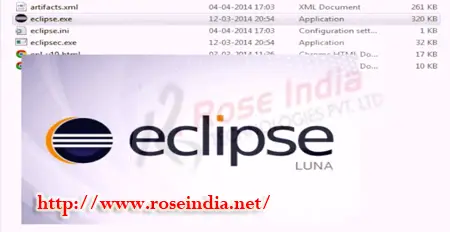
Step 1: How can create spring 4 MVC application in Eclipse?.
Here you will learn to write your first Spring 4 MVC application. You need JDK 7 or above, Eclipse, Maven and Tomcat server. You first step is to keep these software ready with you.
Step 2: Go to the Directory where want to create the project.

Step 3: Then create the project for eclipse.
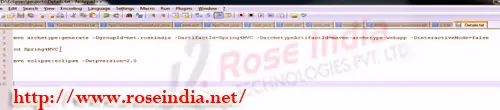
Use the following command to create web application in Maven:
mvn archetype:generate -DgroupId=net.roseindia -DartifactId=Spring4MVC -DarchetypeArtifactId=maven-archetype-webapp -DinteractiveMode=false

Check the tutorial: Maven Web Application: Creating web application in Maven 3 for mode details about creating a web application in Maven 3.
Step 4: Go to the eclipse File -> then Import and existing maven project.
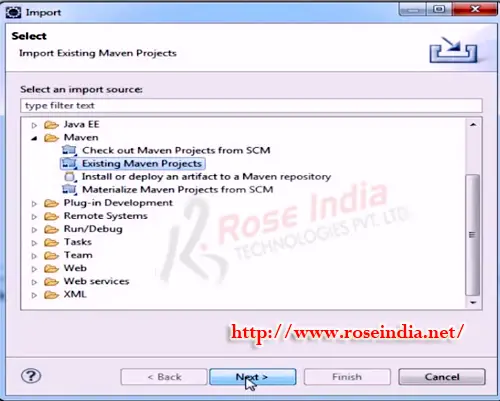
Then provide the path of the newly created project "Spring4MVC" and import the project
Step 5: Then imported the project. You will find the project "Spring4MVC" in the Project Explorer window as shown below:

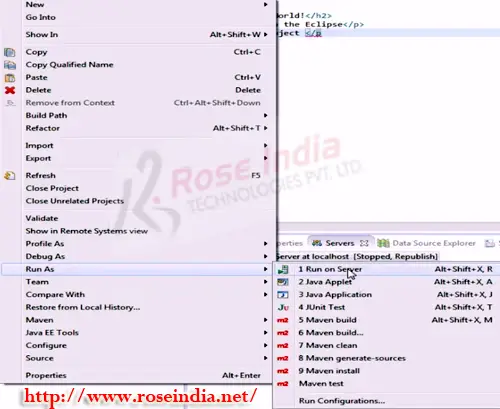
Step 6: Now simply test the application by running it on the Tomcat Server as shown below:


Step 7: So is Deploy the project and massage is Display.
Now type http://localhost:8080/Spring4MVC/ and it should display the default message.
Step 8: So now stop the tomcat server and start Adding the spring specific Code. 0

Step 9: When you type the 'helloworld.html' in the browser it will call the spring MVC controller and then Display the results.
 1
1
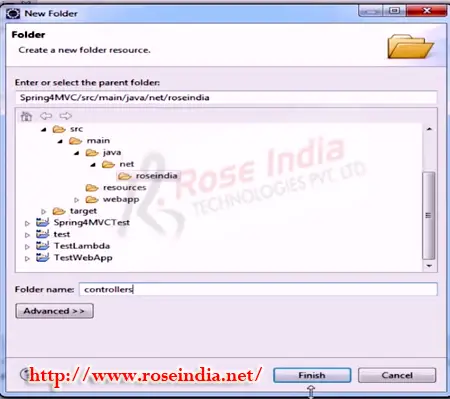
Step 10: Then create the directory in Java.

Step 11: it is create in java -> net -> roseindia -> controller directory. 2


 3
3
Step 12: Now we will add the Spring dependencies in the pom.xml file
 4
4
Step 13: Spring version used is 4.0.3.RELEASE as shown below.

Step 14: Now will close the Eclipse 5

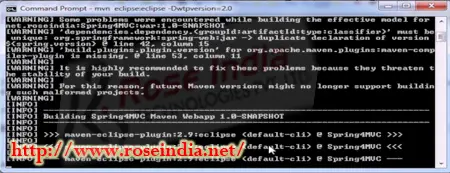
Step 15: Now go to the directory then project is present. The run the following command
mvn eclipse:eclipse -Dwtpversion=2.0 6
This will add the spring jar files into Eclipse project classpath and you will be able to run the application from Eclipse on Tomcat.

Step 16: So will be adding maven literary in to the eclipse project. 7
Step 17: then start in eclipse.
 8
8
Step 18: so this spring library.

Step 19: Now will create in controller plush (hello word controller). 9

Step 20: this method will be call hello word link.
 0
0
Step 21: will add the servlet in the web xml directory.
Step 22: We are scanning the roseindia controller. 1
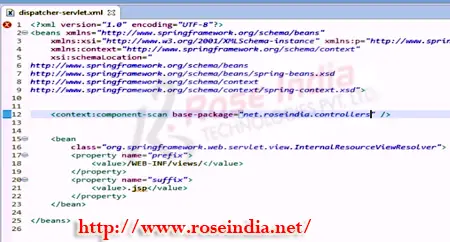
Step 23: Then entry of the web.xml file and dispatch in servlet mapping and all the reque done by the controller.
 2
2
Step 24: so will be web.xml file or dispatcher.servlet.xml file or index.jsp file is ready It is returning "hello word".

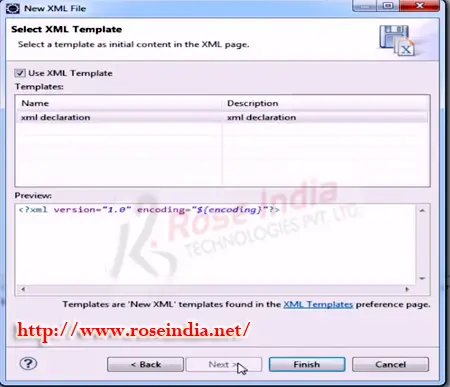
Step 25: so will create new directory call web-INF -> new -> folder -> views. 3

Step 26: then will create the file jsp hello word (file -> new -> jsp).
 4
4
Step 27: Then we can execute go to the property -> deployment -> add -> java build path Entries -> next -> select all jar file -> finish.

Step 28: to run the application tomcat server. 5

Step 29: so explain how to create in project in maven import in to the eclipse id add this Required dependency in the spring pom.xml file and run the tomcat server.
 6
6
Step 30: Then create word file in spring4mvc -> run as -> maven build

So, in this video tutorial you have developed your first Spring 4 MVC we application. 7
Download Source code of the Spring 4 MVC HelloWorld Application.
Check more tutorials at Spring 4 Tutorials section.