
How to Install ClawdBot on DigitalOcean (Step-by-Step Guide)
Welcome to another tutorial on the highly popular ClawdBot. In this tutorial I am going to install Clawdbot on the Digital Ocean hosting services. Installation process is easy and it will take around 20-30 minutes to complete. So, Lets get started with the installation of Clawdbot on DigitalOcean hosting server vps account.
ClawdBot is quickly becoming one of the most powerful self-hosted AI personal assistants in 2026. While many users run it locally, installing ClawdBot on DigitalOcean gives you a huge advantage - 24/7 availability, better performance, and full control over your data. This installation is on the public cloud and it will run 24*7 for you and perform work.
In this guide, you’ll learn how to install ClawdBot on a DigitalOcean Droplet, configure it properly, and access it securely from anywhere.
Why Install ClawdBot on DigitalOcean?
Before jumping into installation, let’s understand why DigitalOcean is a great choice:
- ☁️ Always-on AI assistant (no need to keep your PC running)
- 🔐 Full data ownership (self-hosted, privacy-first)
- 🚀 Scalable performance (upgrade CPU/RAM anytime)
- 🌍 Access from anywhere
- 💸 Affordable pricing compared to managed AI platforms
Prerequisites
Before you start, make sure you have:
- A DigitalOcean account
- Basic knowledge of Linux commands
- An SSH client (Terminal, PowerShell, or PuTTY)
- A GitHub account (for ClawdBot source code)
- An OpenAI / local LLM API key (optional, depending on setup)
Step 1: Create a DigitalOcean Droplet
- Log in to DigitalOcean Dashboard
- Click Create → Droplets
- Choose the following configuration:
Recommended Droplet Settings
| Setting | Value |
| OS | Ubuntu 22.04 LTS |
| Plan | Basic |
| CPU | 2 vCPU (minimum) |
| RAM | 4 GB (recommended) |
| Storage | 50 GB SSD |
| Region | Nearest to you |
| Authentication | SSH key (recommended) |
Click Create Droplet and wait for provisioning.
Step 2: Connect to Your Droplet via SSH
Once the droplet is ready, connect using SSH:
ssh root@YOUR_DROPLET_IP
If you're on Windows (PowerShell):
ssh root@YOUR_DROPLET_IP
Step 3: Update System Packages
Always start with updating your server:
apt update && apt upgrade -y
Install essential tools:
apt install -y git curl unzip build-essential
4. Create sudo user
Next you have to add a sudo user to run the services.
adduser clawd && usermod -aG sudo clawd && su - clawd
5. Install Clawdbot
Now we can proceed with the installation of Clawdbot. Run the following command:
curl -fsSL https://clawd.bot/install.sh | bash
Then run exec bash
6. Configure API keys
clawdbot setup --wizard
7. Start gateway
Next step is to start the gateway. To start gateway run following command:
clawdbot gateway --bind lan --port 18789
8. SSH tunnel to access UI
Now you can setup ssh tunnel on your desktop to access the UI.
ssh -L 18789:127.0.0.1:18789 clawd@YOUR_IP
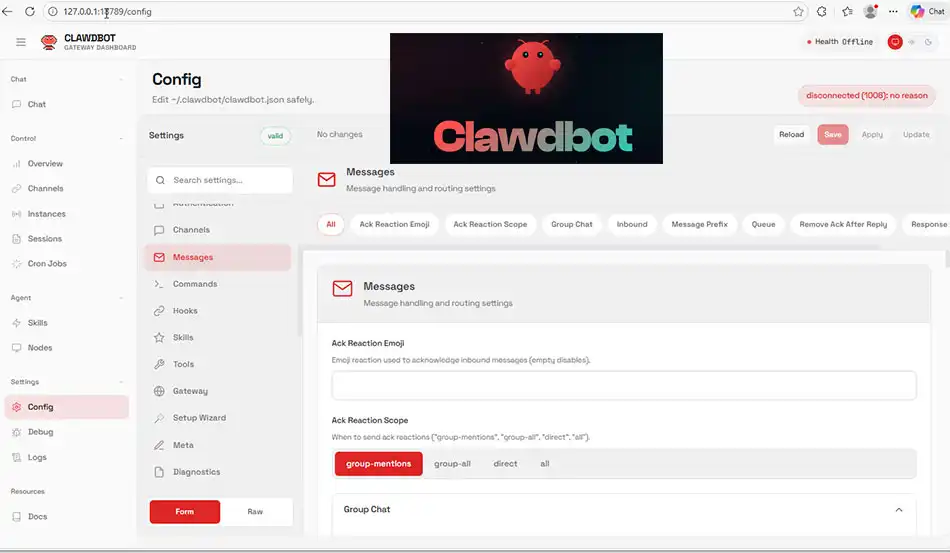
Now you should be able to access ui of ClawdBot.
Here is the screenshot of the UI:
In this tutorial we have learned to install ClawdBot on the Digital Ocean hosting vps server.
Related Tutorials: