Ruby on Rails-Introduction
This Tutorial is basically designed to provide you the basic introductions to ruby on rails programming language. This is basically a web application framework, which is written in ruby language. Ruby on rails programming language usages a Modal-View-Controller architecture and based on object oriented programming. The good thing about this programming language is that it is a open source and freely released.
In this example we are going to discuss "Hello World" example in Ruby on Rails. We are developing this application via using Net Beans IDE. You must have Ruby on Rail plug in of Net Beans.
First of all start NetBeans IDE.
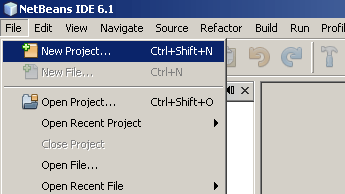
Create new project via File >> New Project
Select Ruby from Categories and select Ruby on Rails Application from Projects

Click on Next button

Give the project name according to you ( e.g we have taken by default name RailsApplication1) and click on next

Configure the database configuration

Click on Create DB button to configure database
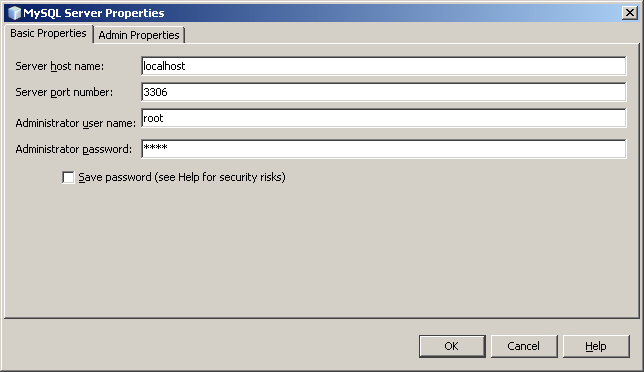
set host name, port number, username and password and after this give database name


After creating database connection click on Ok button
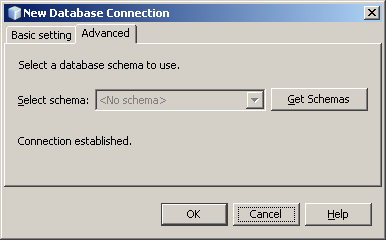
Now Database Configuration window will look like this
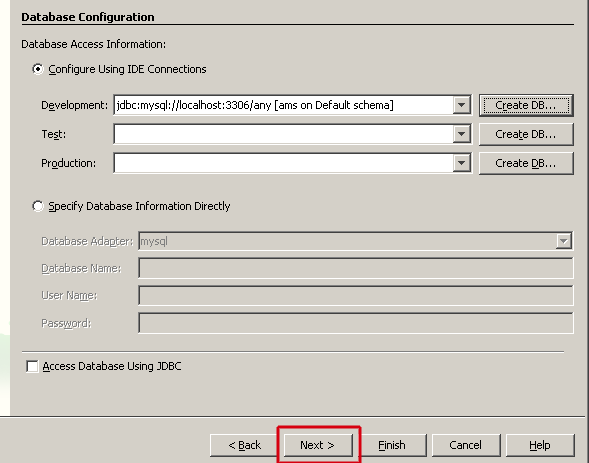
Click on Next button and finally click on Finish

It will take 1-2 seconds in creating RailApplication1's whole environment
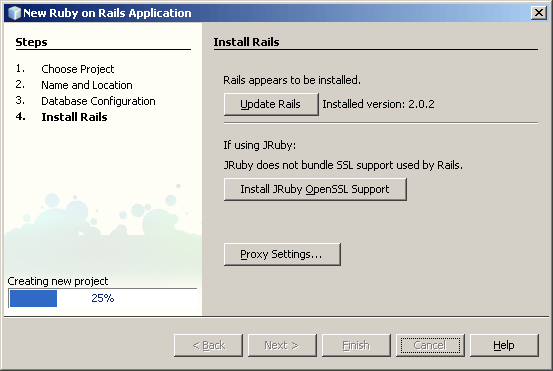
Now your project window will consists of project "RailApplication1"
 0
0
Now you can check that what you have done so far. So go to Run >> Run Main Project to run application

Now it will boot WEBrick server to run Rail application and you have following output on your set browser. It means that you have done all setting perfectly. 1

Now to create further pages in your Application go to controllers and right click on it and select Generate command to generate view.
 2
2
and create controller by clicking on Ok
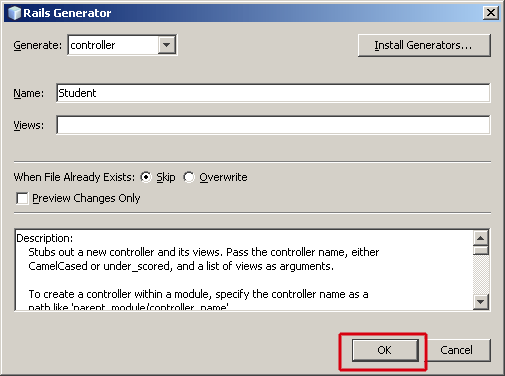
In your project explorer student folder would be created 3

Create a view page with .rhtml extension in student folder
 4
4
and type Hello world in this file list.rhtml.
student_controller.rb
| class StudentController < ApplicationController def list end |
Create a new method list in student_controller.rb and run project. 5

and type the following URL into your address bar as http://localhost:3000/student/list, you will have following output on your browser as follows:
 6
6


