Creating Bean Class In JSF using NetBeans

This example illustrates how to create the Bean Class. This is also called the Backing Bean Class.

Creating Bean Class In JSF using NetBeans

Creating Bean Class In JSF using NetBeans


This example illustrates how to create the Bean Class. This is also called the Backing Bean Class. This bean class is used to store the values of the form components. It contains setter and getter methods for the properties to set and get the values. The JSF application can contain one or more backing beans.  The following steps are used to create the bean class in the JSF application:-


Step1:- Go to project window and right click on project - select New - and select Java Package...


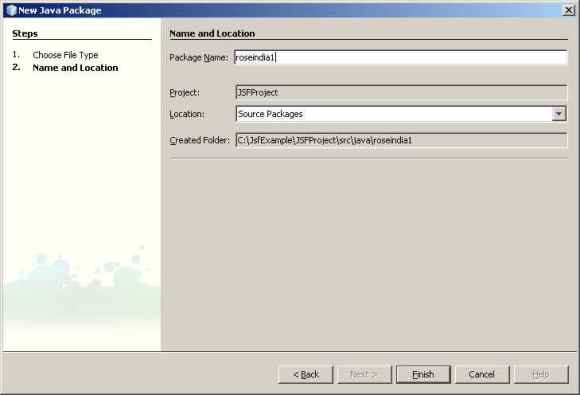
Step 2:- Enter Package Name and click Finish.


Step 3:- Right click on package - select New and select Java Class...


Step 4:- Enter Class Name - click Finish Button.


package roseindia;

public class LoginForm {
  String loginid;
  String password;
  
  public String getLoginid(){
  System.out.println("111111111111"+loginid);
  return loginid;
  }
  public void setLoginid(String loginid){
  System.out.println("111111111111!!!!!!!!!!!");
  this.loginid = loginid;
  }
  
  public String getPassword(){
  System.out.println("222222222222"+password);
  return password;
  }
  public void setPassword(String password){
  System.out.println("222222222222!!!!!!!!!");
  this.password = password;
  }
  
  public String CheckValidUser(){
  System.out.println("sandeep kumar suman");
  if(loginid.equals("sandeep15284") && password.equals("sandeep")){
  System.out.println("sandeep");
  return "success";
  }
  else{
  return "fail";
  }
  }
}

Now the class is created and will be opened for you to modify the class.

Here is a Bean Class named LoginForm.java, which can be used for example purpose.

 Download Source Code